Sinatra Falls is a long, WI2, multi-pitch ice climb on the east side of Mount Kidd in Kananaskis. The approach is a long walk, mostly on trails and there is a walk off from the top. There are no bolts or any fixed gear on the climb. You must decide where to end your pitches and to create your own anchors.
The walk off can be a bit tricky – I have heard of people getting off track and ending up with unplanned rappels. Below is a map showing the route, including the walk off as well as photos and details of our climb.
It should be noted that this climb is in a terrain trap and is highly exposed to avalanche risk. It should only be attempted when avalanche risk is low. Even then, we carried transceivers, probes and shovels.
Beta:
- a long rambling multi-pitch, mostly WI2 with some steep walks
- about 350 meters
- high avalanche exposure
- best done early season, before snow accumulates above the climb
- we ended up doing 6 pitches
- the approach is about 3.5 km, 1.5 – 2 hours
- the descent is a walk off or rappel the route from v-threads
- one rope is sufficient but if you choose to rappel, you might want two to reduce the number of rappels
- Gear: walkie talkies would have been useful
Planning
Check avalanche risk at the Avalanche Canada website.
Check the weather forecast at SpotWx.
You will need a Kananaskis Conservation Pass to park at the trail head. Buy one online here.
Access
Park at the Galatea Trailhead on Highway 40 in Kananaskis Country.
The map below shows our route, the light blue line, recorded on Gaia GPS. We started at the picnic table icon which marks the Galatea parking lot. The dark blue line is our route to Agent Orange, an ice climbing crag. It shares the same starting trail as Sinatra Falls.

The Approach
Take the trail down from the parking lot, through the forest to the Kananaskis River. Cross the river on the suspension bridge. Follow the trail through the forest to another, smaller bridge. On the other side of the bridge, the trail makes a T-intersection. Turn right to get on the Terrace Trail.
Follow the Terrace Trail past the major drainage off Mount Kidd which is the summer scramble route. Continue to the next drainage and watch for the turn off to Sinatra Falls.
A piece of cordellette tied to a tree is the first clue that you have reached the turn-off.

Behind that, the route is marked with flagging tape.

When we left the main trail, we immediately lost the trail (if one exists) and started bushwhacking.

The forest is open and it was pretty easy to move through.
The route is marked on some apps such as Gaia GPS and AllTrails (download the Terrace Trail – Sinatra Falls is the shorter line that goes up the east side of Mount Kidd).
If you are planning to walk off, this is a good time to start looking at the descent route. This photo shows the area of the descent route marked with a black arrow. More on this below under “The Descent.”


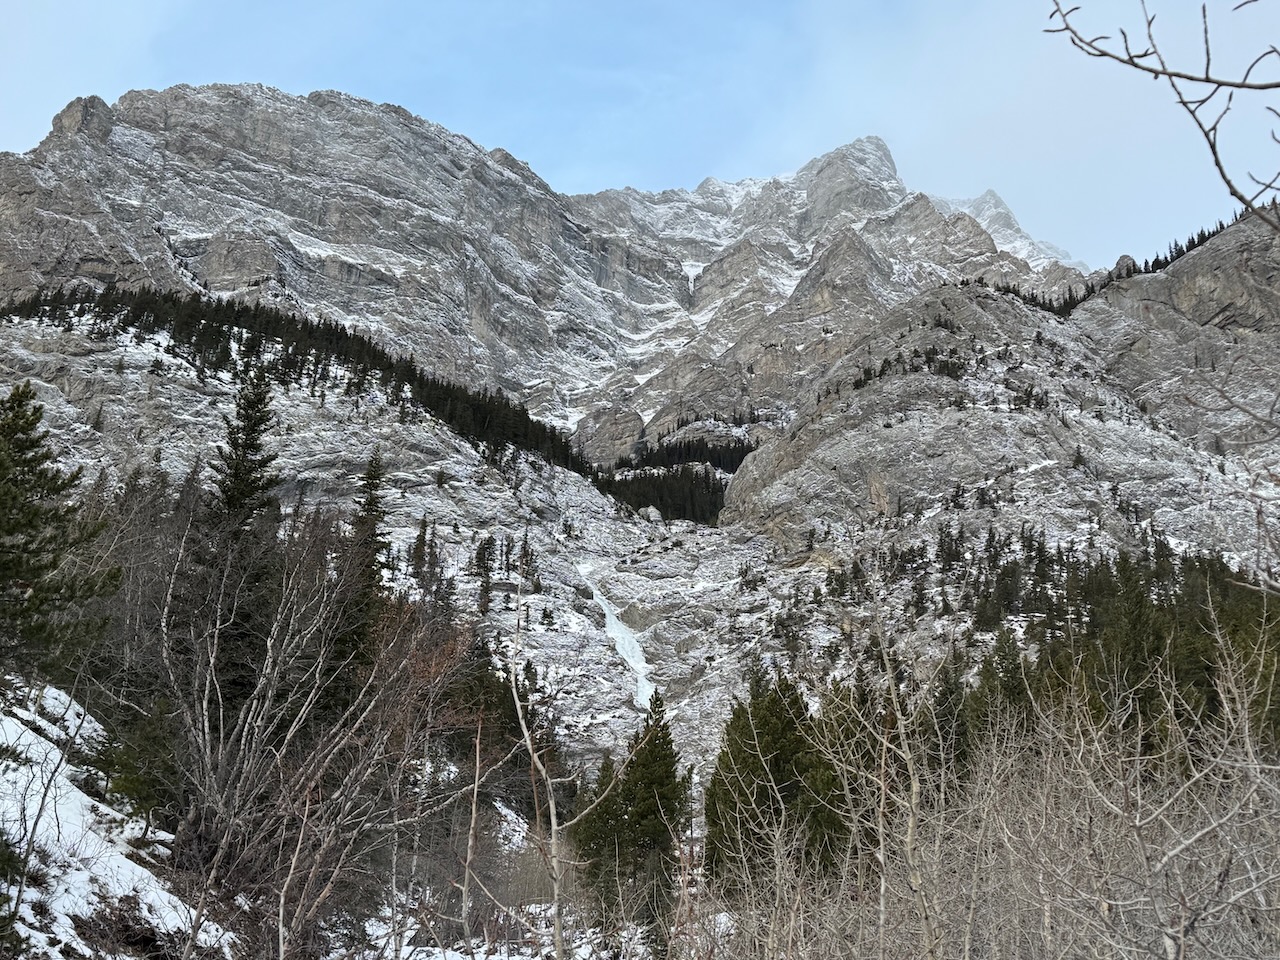
We started to see the climb through the trees in the distance.
We found the drainage below the falls and followed it up.


As we got closer, we could see that there was a lot of ice to climb. Stoke was building!
Almost there, we can see that the ice is moderate, not too steep but there is a lot of it. We started to plan where we would end the first pitch.

The Climb
This was the first multi-pitch we did where there were not pre-established belays. When we climbed Chantilly Falls and Lady Wilson’s Cleavage, there were bolts for belay anchors. We climbed from anchor to anchor.
On Two O’Clock Falls, there are tree anchors and it is obvious where each pitch should end. Here, there were no indicators of where we should stop to belay.
Our plan was to make each pitch as long as possible, minimizing the number of pitches and hopefully saving time. However, without our Rockie Talkies, we had no way of letting each other know how much rope was left. We ended up with shorter pitches and belaying more than was absolutely necessary.

Dan led first up the short step, walked up to the next step and stopped to belay.
I think when we do this climb again next year, we’ll go further on the first pitch. We definitely will not forget our Rockie Talkies.
I didn’t take any more photos of the climb. Another party came up behind us. They set up their anchors beside ours and waited. I wanted to move as quickly as I safely could. I didn’t want to keep them waiting while I took photos.
The rest of the climb was much the same with moderate climbing sections separated by walking sections. We found the climbing easy but longer pitches made our calves burn.
I didn’t want to stop and shake out my arms, I wanted to shake out my legs! The pump was all below the knees!
At the top of our fourth pitch, I found a tree anchor. I believe prior parties must have used it to rappel. It was the only time on the route there was a tree close enough to use as an anchor. It was hard to get to the tree though. There was no ice below it, only snow covered slab.
In hindsight, I should have continued up the ice where the route turned right and flattened out. I thought we might be able to start the walk-off there but we were too low.
We continued up over small, moderate steps and walking on flatter ice. Around another corner, the drainage forked above us, ice to the left and to the right. We knew our walk-off was on the left so we took that branch. There were a few small, easy steps which we solo’ed up until we could leave the ice, climb out of the gully and enter the forest.
We could have continued up and climbed another interesting-looking pitch above but we were tired and ready to be done.
The Descent
The party behind us planned to rappel. One of the climbers had done the route before and got off track on the walk-off. They ended up doing an unplanned rappel. We decided to try the walk-off.
There is a good description on Mountain Project that warns that if you drop down too early, you will get cliffed out. To avoid this, continue south until you see a rib you can descend to.
At first the trees and bushes were very dense and it was difficult to make much progress. But after a while, the forest opened up and we were able to move more easily. We found occasional game trails traversing the slope.

There were a few narrow gullies to cross as we traversed the slope. We resisted the temptation to head down. Instead, we crossed the gullies and carried on across the slope.
In the photo below, the red arrow points to a smooth rock buttress. As you traverse through the trees, you can look up and see this buttress. You want to continue traversing until you are almost passed it. Then you will be able to see the bald, treeless rib below (blue arrow) which you can move down to. From there, hike along the top of the rib and drop down on the right.

The forest below the rib is more open and you can make your way down hill back to the Terrace Trail.
Lessons Learned
I realized fairly early in the climb that choosing a good spot to build an anchor that provides a restful belay stance is a skill I want to practice. This was a good climb to work on that.
The ability to communicate would have made this climb much easier and more enjoyable. We learned that the Rockie Talkies are very important on these long, winding multi-pitches.

Leave a Reply